
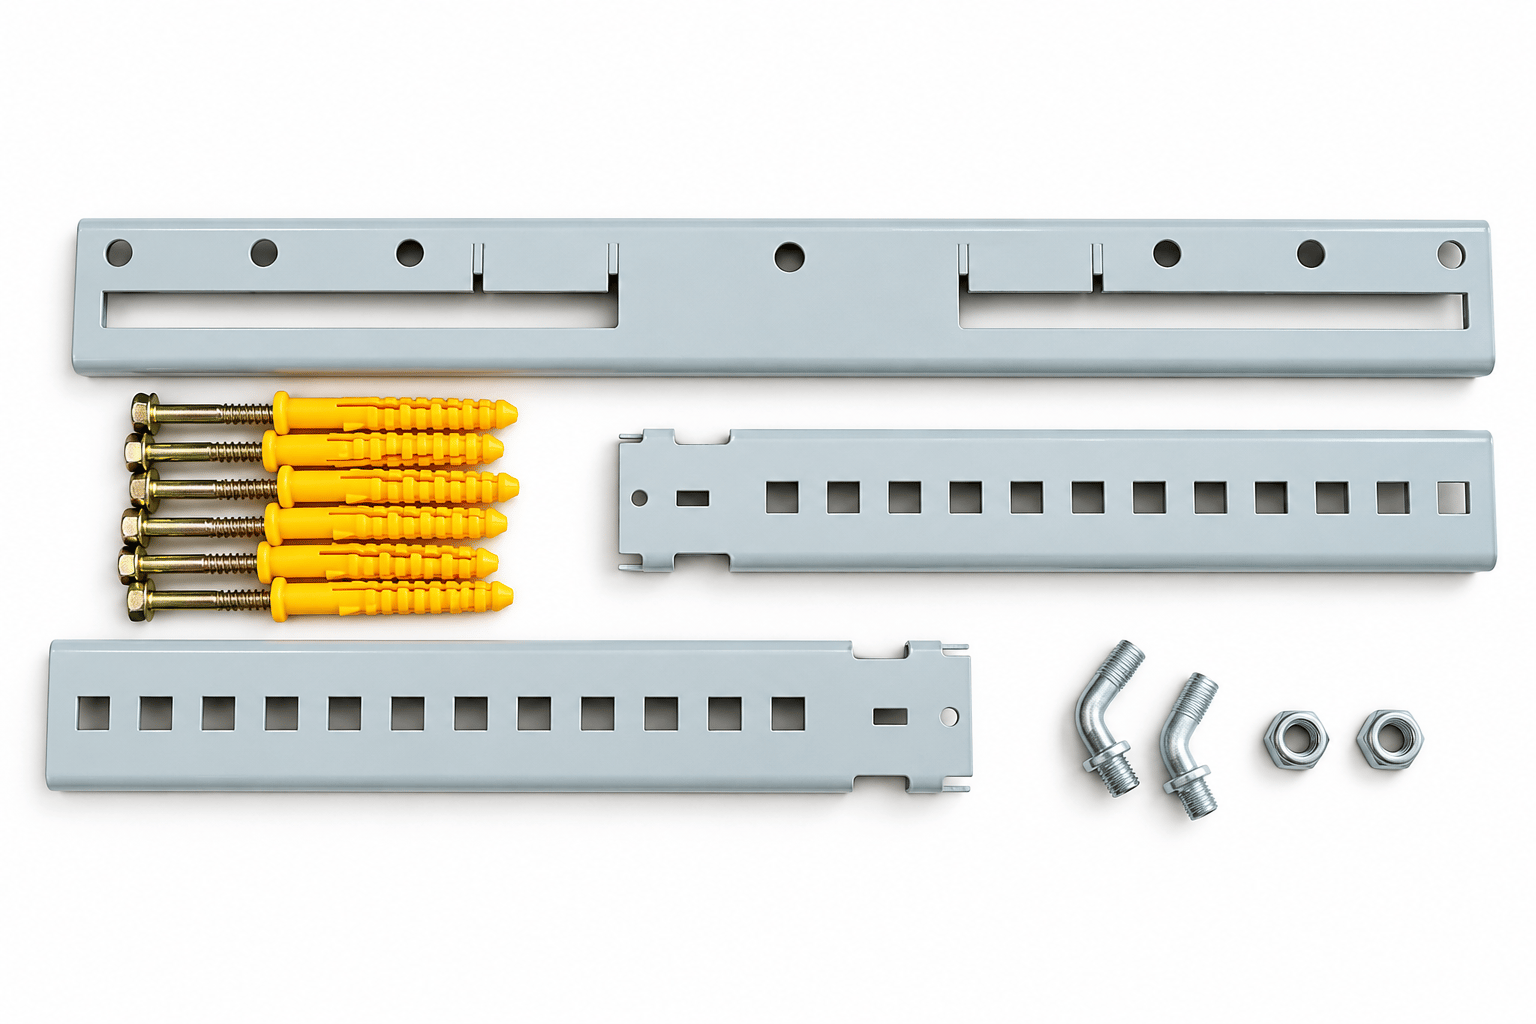
A kit count answers only one question
The U-series accessory brief lists six expansion fixings with a 5 mm hex drive. That tells a buyer the quantity and the tool interface. It does not identify the thread diameter, drill diameter, embedment, tightening torque, substrate approval or design resistance. A 5 mm hex drive must never be copied into a drilling schedule as a 5 mm hole size.
Separate the bracket bill of materials from the project’s anchor schedule. When the supplied fastener has not been identified and verified for the actual wall, its presence in the box does not establish suitability. The installer needs the selected anchor manufacturer’s instructions and the project requirements before drilling.
Describe what carries the load
Record the structural substrate behind any finish. A tiled surface is not a substrate classification. Concrete, solid masonry, hollow masonry and lightweight partitions require different evidence. Capture the substrate thickness and condition, the distance to openings and edges, and the planned fixing layout.
Hilti’s base-plate guidance identifies base material, anchor spacing and edge distances as design inputs. This is why a load figure copied from an isolated fastener table cannot automatically be applied to a group of closely spaced bracket fixings.
Sources: Hilti — Base plate design inputs
Do not transfer instructions between anchor types
Mechanical and adhesive anchoring systems transfer load differently. Hilti explains that adhesive anchors rely on a bond between rod, adhesive and substrate and cannot be loaded immediately. The practical procurement consequence is to request instructions for the exact selected system, including any required curing conditions, rather than writing one generic fitting instruction for every kit.
A buyer should not choose a chemical anchor merely because a wall is hollow, or assume an expansion fixing is suitable because the external wall feels hard. Product documentation and a competent assessment must establish the accepted substrate and installation method.
Sources: Hilti — Mechanical versus adhesive post-installed anchors
Create a short site-information record
Our recommended handover is a one-page record that the installer and bracket supplier can both understand. Include annotated photographs and a dimensioned fixing layout. Mark unknown information as unknown; a guessed wall thickness looks deceptively authoritative once it is copied into a purchase order.
If site conditions differ from the approved record, stop using the original fixing schedule as evidence of suitability. Resolve the change with the responsible installer or designer. This article is a specification workflow, not a replacement for project-specific anchorage design.
- Structural wall material, thickness and observed condition.
- Finish thickness and any gap between bracket and structural wall.
- Fixing positions, spacing, edge distances and nearby openings.
- Exact anchor designation, substrate approval and manufacturer instructions.
- Inspection record, installation responsibility and any required verification.
Sources & scope
Manufacturer references apply to the equipment or fastening systems named in those documents. The purchasing checklists and examples are M Brackets’s editorial guidance; they do not certify a particular installation. Sources reviewed: .
Turn your requirements into a clear specification.
Send your equipment model, drawings, wall information, finish requirements and order quantity.
Discuss your requirementsU-Type model specifications