
Select for an outdoor-unit model, not a sales category
A nominal cooling capacity does not tell a bracket supplier where the mounting feet are, how deep the cabinet is or how much service space the unit needs. Begin with the outdoor-unit model and its installation drawing. Record the supported mass, foot-hole pattern, foot width and the available support surface.
Use the appliance manufacturer’s required clearances as inputs to the mounting layout. A bracket may fit the feet while still placing the back of the cabinet too close to the wall. Access to valves, panels and connections also belongs in the drawing, rather than becoming a problem discovered during commissioning.
Read the mounting and drainage instructions together
Daikin’s cited installer guide links a strong, level installation base with avoiding operating vibration and noise, and separately addresses unobstructed drainage and the risk of ice accumulation. That guide concerns its specified equipment and installation arrangement; its bolt sizes and dimensions are not specifications for an M Brackets wall bracket.
For a purchasing brief, the useful lesson is to include the route taken by water as well as the outline of the equipment. Record where drain openings sit relative to the bracket and where water can discharge. A rail or accessory should not be assumed harmless merely because it fits beneath the unit.
Sources: Daikin — EWAQ/EWYQ installer reference guide, outdoor-unit mounting and drainage
Treat vibration accessories as part of the assembly
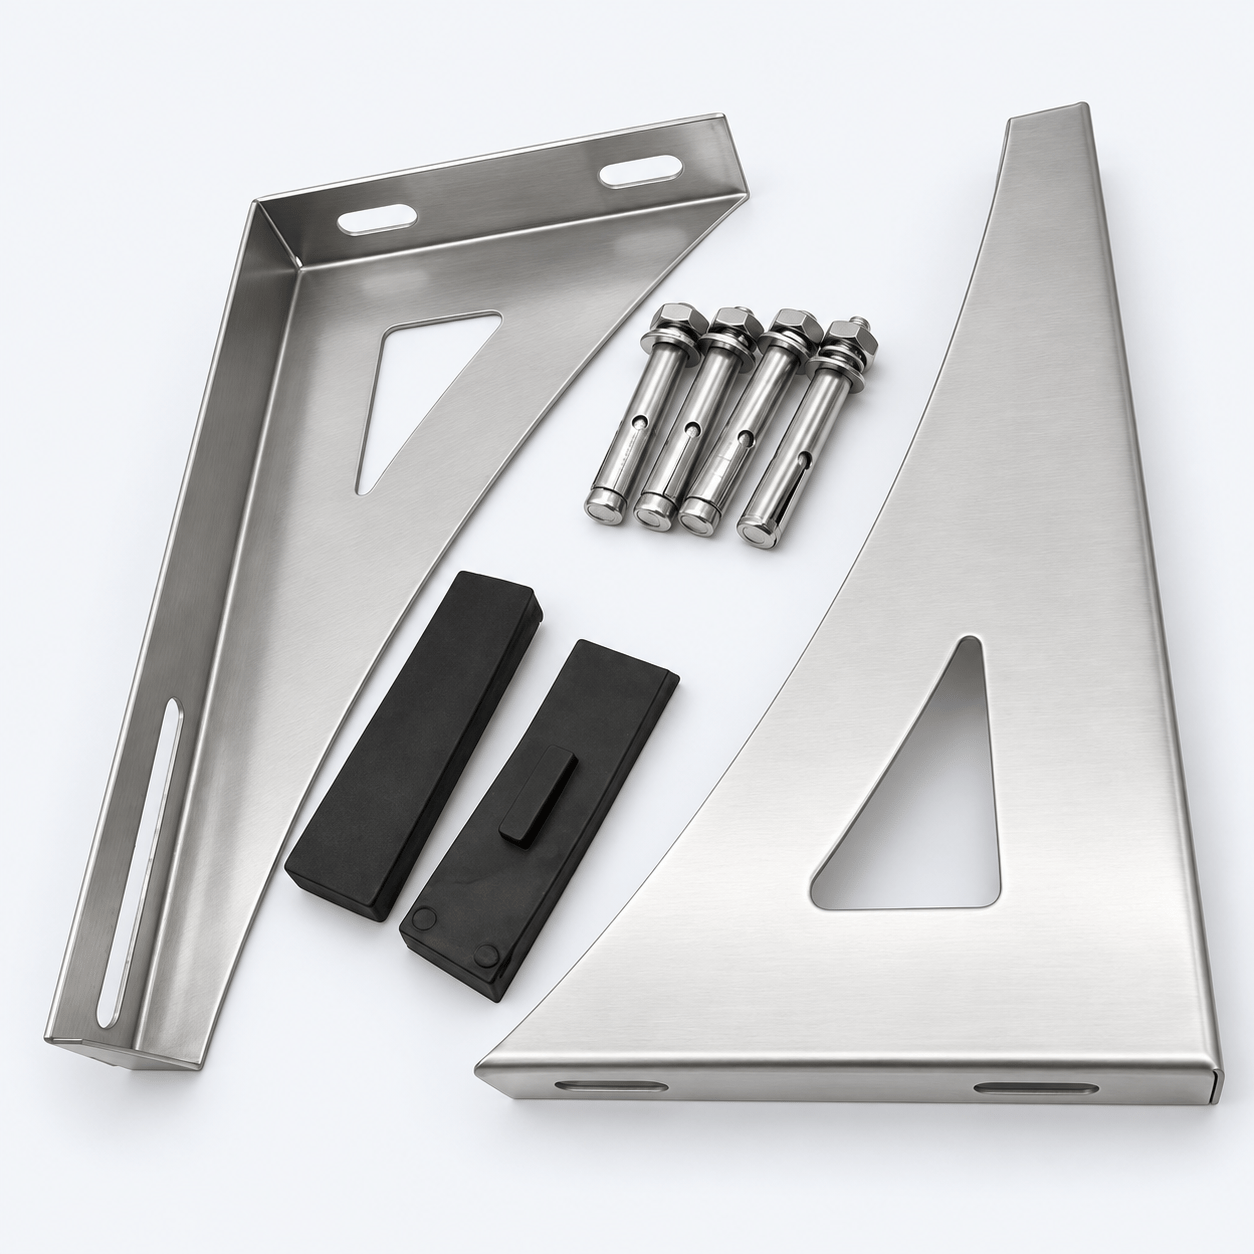
An anti-vibration pad changes the interface between the unit and its support. Ask which pad, washer and bolt arrangement is intended for the appliance and bracket combination. Avoid promising a noise reduction from a photograph of a rubber pad; the complete installation determines the result.
Likewise, a rating stated per arm is not the same statement as a rating for an assembled pair. Record the exact configuration behind any supplier rating. Ask how the load position, connections and wall anchorage were treated, rather than multiplying a headline number without checking the evidence.
Use one coordinated installation sketch
Our recommended sketch combines the appliance footprint, bracket arms, wall fixing points, required clearances and drain route. Label it with the exact equipment and bracket revisions. This is more useful for a distributor than keeping a cabinet photograph and a generic “universal bracket” description in separate files.
M Brackets’s AC range can be discussed against that sketch. No load rating, wind resistance, vibration performance or universal appliance compatibility is implied by the catalogue image. Ask for confirmation of the selected assembly and site conditions before installation.
- Outdoor-unit model, mass and mounting-foot drawing.
- Required wall, airflow and service clearances from its manual.
- Drain opening locations and proposed discharge route.
- Bracket, pad, fastener and wall-anchor specifications.
- Documented capacity basis and any project-specific environmental actions.
Sources & scope
Manufacturer references apply to the equipment or fastening systems named in those documents. The purchasing checklists and examples are M Brackets’s editorial guidance; they do not certify a particular installation. Sources reviewed: .
Turn your requirements into a clear specification.
Send your equipment model, drawings, wall information, finish requirements and order quantity.
Discuss your requirementsU-Type model specifications